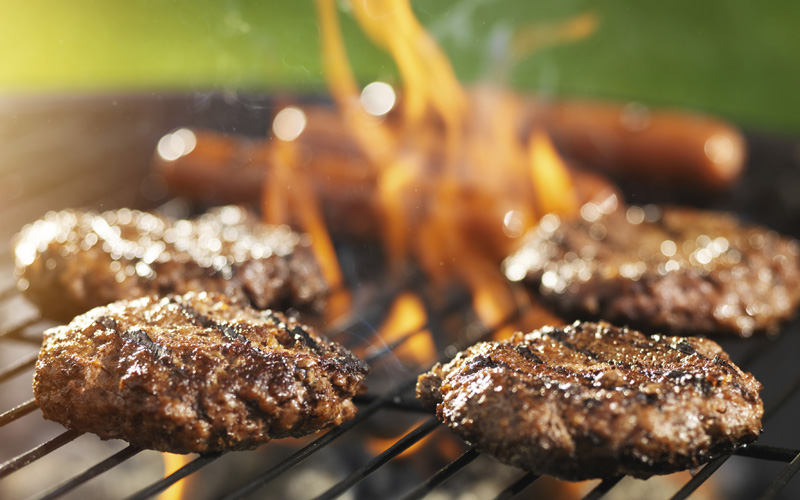
With Fourth of July right around the corner, everyone in America will soon be thinking about grilling. Ironically, I’ll be celebrating this year’s Independence Day in London, where I’m sure there will be no barbeques or happy fireworks in its honor.
But I digress… Grilling in America needs an organic makeover—independence from exposure to conventional grilling toxins. We need to apply that spirit of revolution to our health and the environment and take it organic every time we fire up the grill!
“What does organic have to do with grilling?” you might be wondering. Sure, I can find a grass-fed, certified-organic steak to throw on the grill, or maybe an Applegate Farms organic hot dog, but that’s it, right? The truth is there’s more to organic grilling than just what you cook. Organic grilling is a complete process that minimizes toxic chemicals from beginning to end—and maximizes flavor and healthful benefits for you and the environment.
But let’s start with the most important issue: To grill or not to grill?
There are some environmentalists who say we should never grill because it sends dangerous chemicals and CO2 gas into the air. I say grilling is primal. Without food cooked over a fire, our brains wouldn’t be as large as they are and our lives would be a lot less interesting (and delicious).
My goal is to demystify the grilling process, as well as detoxify it as much as possible, so that anyone—men, women, girls, and boys—can feel empowered to grill in a way that’s easy, enjoyable, and safe.
This list will help you keep it safe, fun, and simple:
1. Gather your materials.
a. You need a grill, of course. It doesn’t matter what kind or how fancy. Mine is a Big Green Egg.
b. Certified-organic charcoal is now actually a real thing! Whatever your choice, always use charcoal that’s made from natural materials like wood (look for “lump charcoal” or bamboo or coconut). Or you can use wood logs instead of charcoal—just make sure you have time to let them burn down a bit first. Avoiding toxic briquettes is the most important organic choice you can make for the environment and for your health.
c. To start the grill, you will need a “chimney,” which will enable you to never use lighter fluid again. Yay!
d. Everything else you need: paper to stuff under the chimney; matches; organic food to grill; and my favorite tool, a long set of TONGS. (I am very particular about my tongs. They have to be long, non-locking, and without plastic parts.)
2. Prepare the grill. Make sure your grill is in a safe place, all your materials are handy, and the grill is clean enough (don’t worry, the fire should burn off a lot). Whatever you do, do not use a wire cleaning brush to clean your grill. Those little wire bits can break off and get stuck in your stomach. True! Instead, use a heavy-duty sponge, a wood grill scraper, or a natural-fiber scrub brush. Then follow up with some oil on the grill to keep your food from sticking. (We are talking edible oil like coconut, not petroleum!) NOTE: Remove the grill grate before you take this next step…
3. Light the fire. If you have a chimney, most of your toxin problems are solved since it lets you avoid lighter fluid (and toxic “charcoal briquettes”). Put a few pieces of dry paper crumbled up at the bottom of the chimney (I use one piece of newspaper). Then load the charcoal on top. (Make sure the grill grate is off!) Spread a bit of charcoal around the sides, too. Light the paper on fire underneath. You should keep checking to make sure that it’s burning hot enough. For example, if it’s damp out, it might take a few tries to get the paper burning hot enough to light the charcoal. You will know if it’s caught because either there will be smoke coming out of the top or you will see and feel the heat.
4. Wait. It will take 10 to 15 minutes for the charcoal to get hot enough. You’ll know it’s hot enough when you can see red coals glowing through the chimney holes. During that time, make sure all your food is ready to be put on the grill. When the fire is hot enough, grab the handle of your chimney (use a hot pad just to be careful) and dump the burning coals into the grill. Make sure when you put the chimney down it is somewhere safe and out of the reach of children because it will be HOT as hell.
5. Grill, baby, grill! And now, the fun part. Put the grill grate back on the grill. It will still need a few minutes to get warmed up, so don’t feel rushed. Add your food (again, spreading some oil with a high smoke point on the grill will help ensure the food doesn’t stick). You can use tinfoil if you want, but it’s not necessary. The important thing is to give the food the time it needs to cook properly (which varies depending on what you’re cooking). Remove the food from the grill and put it onto a clean platter and…enjoy!
5 Additional Grilling Safety Tips:
- Keep a squirt bottle or squirt gun handy in case the fire gets too hot. This is especially important if you are using wooden logs—they can get really hot. If they do, give the grill a squirt. I find most natural or organic charcoal doesn’t get super hot unless you use lots of it.
- Don’t put cooked meat on the same platter you used for raw meat without washing it first. That’s just good food safety.
- Do not—I repeat—DO NOT use one of those wire grill-cleaning brushes! See #2 above.
- Try not to get too distracted. This, I believe, is one of the reasons grilling is traditionally done by men. It can be challenging to grill while trying to get a lot of other things done to get a meal ready. All that standing around the grill stuff that men do is important because you need to keep an eye on things or it can easily burn or not cook fast enough. So if you are a man or a woman grilling alone or making a full dinner, make sure all of the other items on your list are ready and checked off first so you can stay focused on the grill.
- Never grill indoors. And if there is a drought or you live in a very dry area, you should probably avoid grilling altogether. If you have a grill on your stove in your kitchen, of course you can grill (although, I once started a fire in someone else’s house by grilling organic bratwurst on an indoor grill—the meat was so fatty that the grill caught fire!). I also grilled those same kind of bratwurst outdoors for a group of Australians, who informed me that folks are not allowed to grill over an open fire (even a charcoal grill) in Australia because it’s so dry. So much for throwing a prawn on the barbie!
Anyway, fire is good. Fire is dangerous. Grill safely and organically to minimize the danger to the environment and you.
And if you want to see me grill in person, come to the 7th annual Organic Apple Festival at the Rodale Institute on Saturday, September 19, 2015.
I grill organic hot dogs donated by Applegate Farms (they are the best!), and I even grill tofu dogs and sausages. It’s a super-fun day: You can pick your own organic apples, eat all sorts of organic foods, and enjoy a day on the organic farm.


You might be surprised that they do celebrate the 4th in London. I have been there on two 4th of July.
how do they celebrate it????
What about grilling with a gas grill? Can that be organically safe? Thanks.
Yes of course!
Thanks for this post!! The best turkey I have ever made, and we had room in the oven for the sides. I think I could have used more smoke, but now I know for next time. Thanks.